Recipe Tag

  • Sort Blog:
  • All
  • About The Property Geeks
  • Around Town
  • Buying
  • Design
  • Downtown Lakeville
  • Home and Garden
  • Home Staging
  • Hug Your Home Challenge
  • Market
  • Open House
  • Photography
  • Real Estate Investment
  • Recipes
  • Selling
  • Uncategorized
Meatballs

Keya Cooks – Cheesy Garlic Bread Meatball Sliders!

Property Geek Nekeya Broadnax took her turn in the kitchen and searched high and low for a recipe to share! When she came across this post from The Comfort of Cooking, she was inspired to try out these delicious Cheesy Garlic Bread Meatball Sliders!

The original recipe and post can be found here: http://www.thecomfortofcooking.com/2016/05/cheesy-garlic-bread-meatball-sliders.html

Meatballs

Cheesy Garlic Bread Meatball Sliders

Ingredients:

Sliders:

  • 1 lb. ground beef
  • 1 large egg
  • 1 tsp kosher salt
  • 1/4 tsp black pepper
  • 1 Tbsp garlic powder
  • 1/4 cup grated parmesan cheese
  • 2 Tbsp chopped basil
  • 1 Tbsp oil
  • 1 cup marinara sauce
  • 1 package dinner rolls
  • 12 slices mozzarella cheese

Garlic Butter:

  • 4 Tbsp melted butter
  • 2 Tbsp minced garlic
  • 2 Tbsp chopped basil
  • 2 Tbsp grated parmesan

Directions:

For the sliders:

  1. Preheat the oven to 350 degrees. Cut the dinner rolls in half and set aside.
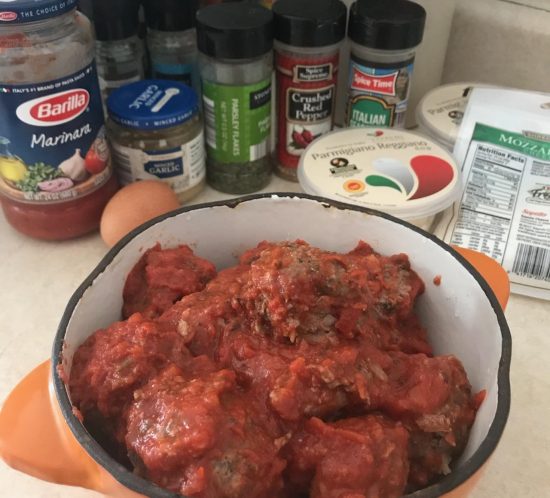
  2. In a large bowl, combine ground beef, egg, salt, pepper, garlic powder, parmesan, and chopped basil. Mix until all ingredients are well blended. Shape mixture into 12 golf ball-sized meatballs; set aside.
  3. Set a large pan to medium-high heat. Once hot, add meatballs and cook 1-2 minutes per side, then flip. (They do not need to be fully cooked at this point.) Remove meatballs to a paper-towel lined plate; drain excess fat in pan.
  4. Pour marinara sauce into the pan and place meatballs in the sauce. Cook for 8-10 minutes, flipping meatballs occasionally, until sauce has reduced to a thick consistency. Remove from heat.
  5. Place one meatball inside each halved dinner roll. Top with sliced mozzarella, then cover with dinner roll top. Place on a large baking sheet.

For the garlic butter:

  1. In a small bowl, combine butter, garlic, basil, and parmesan, stirring until evenly mixed.
  2. Pour garlic butter mixture over top of the sliders.
  3. Bake for 15-20 minutes, until the rolls are golden brown and cheese is melted.
  4. Cut into individual sandwiches, and serve.
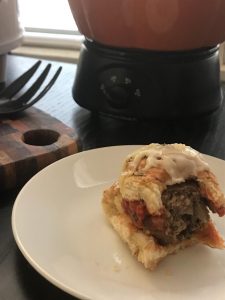
Meatball Sliders

Keya served the sliders at a recent family gathering. The result… Next time she’ll have to make a double batch! Let us know if you try these, we’d love to hear what you think!

Just in time for the big game… Kim’s Hot Tot Kabobs!

Property Geek Kim isn’t a native Minnesotan. But she’s been in the Twin Cities long enough to have learned a couple of things:

  1. Minnesotans love their tater tots, and…
  2. They’ll try just about anything on a stick.

So, in honor of the big game, she’s decided to share a recipe for one of her family’s new favorites:

Hot Tot Kabobs

These taters on a stick are super quick to make and will easily feed a crowd. Here’s what you’ll need:

  • Frozen Tater Tots
  • Finely Shredded Cheddar or Colby Jack Cheese
  • Bacon Bits or several strips of cooked Bacon (chopped into bits)
  • Sour Cream
  • Chives
  • Skewers

Cook the tater tots according to package directions. Once done, let them cool for a few minutes until you can touch them.

Thread tater tots onto skewers and place onto a cookie sheet.


Top the tater kabobs with bacon bits.


Sprinkle cheese over the tots.


Bake for another 5-10 minutes until cheese melts.

Transfer to a serving platter & garnish with sour cream and chives.


These Hot Tot Kabobs will be a hit just the way they are, but if you want to mix it up a bit, try the following variations:

  • Use Mexican cheese, chopped jalapenos and serve with salsa for dipping.
  • Sprinkle dry ranch seasoning over tots when cooking and serve with ranch dressing.
  • For a “healthier” slant, sprinkle chopped cooked broccoli over the tots before you add the cheese.
  • Try adding a little chili, then cheese and serve with sour cream for dipping.


We can’t promise your team will win on Sunday, but we CAN promise you’ll end up with a platter that looks like this…


What’s your favorite snack to take to a game watch party?

Soup

Theresa’s New Tradition – Zuppa Toscana Soup

Soup

Property Geek Theresa has a new favorite recipe — perfect for the cold December days and long winter nights ahead of us in Minnesota.  Her daughter, Lauren, originally made it in her Culinary Arts class but they’ve adapted it a bit and it’s become a new family favorite… a copycat recipe of the Olive Garden’s delicious Zuppa Toscana soup.

The original link to the recipe and directions can be found on Delish.com.

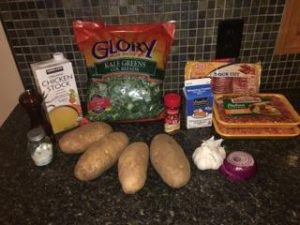
First, gather all of the ingredients…

Zuppa Toscana

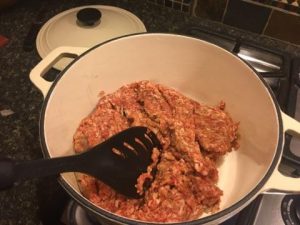
Next, you’ll brown the sausage then drain it.

Zuppa Toscana - Sausage

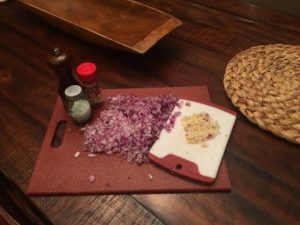
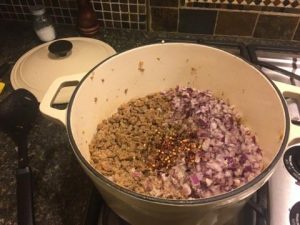
Chop the onion and garlic, then add the onion to the same pan, cooking until it’s tender and translucent.

Zuppa Toscana - onion & garlicZuppa Toscana - Garlic


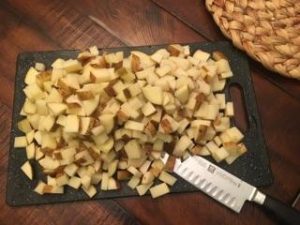
Potatoes are next. You don’t even have to peel them, just dice them and toss them in.

Zuppa Toscana - Potatoes

Zuppa Toscana - potatoes mixed


Smells delish already, doesn’t it? Now add the chicken broth and relax while the stove top does the work for a bit.

Zuppa Toscana - Broth

Now add your power veggie… kale… and let it cook until the leaves are nice and tender.

Zuppa Toscana - Kale

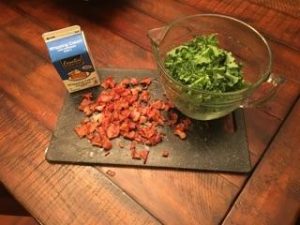
If you’ve stuck with us this far, you’re about to be rewarded. Final step, mix in the cream and bacon. Only a few more minutes to go.

Garnish and enjoy!

Soup

Thanks Theresa and Lauren (pictured!) for sharing your new family favorite with us!

Lauren

Ingredients:

  • 1lb Italian Sausage, browned & drained
  • 1 Large Onion, chopped
  • 3 Cloves Garlic, minced
  • Salt & Pepper
  • 6 Cups Chicken Broth
  • 4 Large Potatoes, diced
  • 1 Bunch Curly Kale, diced
  • 3/4 Cups Heavy Cream
  • 4 Slices Bacon, cooked & chopped
  • 1/4 Cups Parmesan, grated

Directions:

  1. Brown the sausage in a large pot, then drain.
  2. In same pot, add the onion, letting it cook over medium heat until it softens.
  3. Add the garlic and cook for one more minute. Season with salt and pepper.
  4. Add chicken broth and potatoes and simmer until potatoes are cooked through and tender, about 25 minutes.
  5. Stir in kale and cook until leaves are soft, about 3 minutes.
  6. Add cream, sausage and bacon. Simmer an additional 3-5 minutes.
  7. Season with salt and pepper to taste. Garnish with freshly grated Parmesan and serve while hot.

The soup is hearty and filling and makes a meal all by itself. But Theresa likes to serve it with bread sticks and salad on the side. She also suggests making a double batch since it tastes even better the second day!

What are some of your favorite winter recipes?

Warm Up with Karla’s Southwest Stuffing

Feel that chill in the air? Fall is hurtling by quickly and winter is coming in cold. The proof is in the stuffing–Thanksgiving is only two weeks away!

Thank goodness Property Geek Karla has a cure-all to beat back that brisk snap in the air, and she’s sharing it with all of us today. She said she started adding this Southwest Stuffing to her Thanksgiving menu about ten years ago and now her family won’t let her through the door unless she brings it along. They love the twist on the traditional stuffing recipe. The jalapeno provides a bite of heat and the chorizo sausage and cilantro give it just the right southwestern zip to clear the sinuses and keep the cold at bay.

If you’re looking for some extra sizzle and spice to add to your holiday, we hope you’ll give it a try!

Property Geeks Southwest Stuffing - Sausage

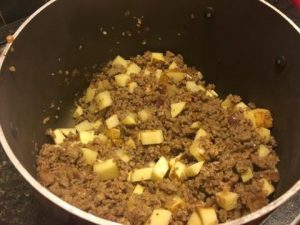
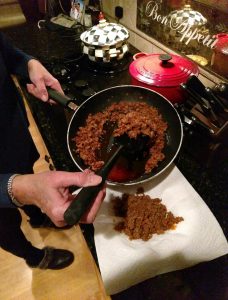
First, saute the sausage. It gives the stuffing that extra kick.

How can something with so many vegetables be so tasty? Just don’t mind that stick of butter hiding underneath all that green.

Southwest Stuffing - Broth

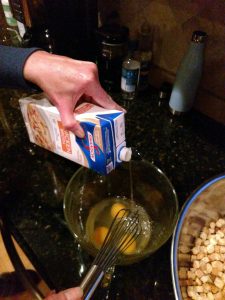
The mixture of broth and eggs provides the rich moisture that holds the whole dish together.

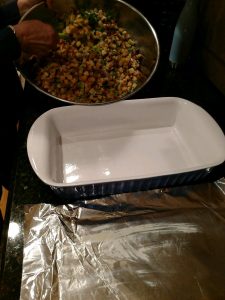
Southwest Stuffing - Pan

Almost ready! Just an hour in the oven to bake all that spice together.

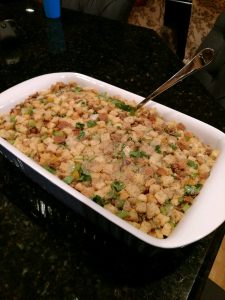
Southwest Stuffing - Final

Ta-da! Looks good enough to be a meal all by itself.


Southwest Stuffing

  • 1 lb bulk Chorizo Sausage
  • 1/4 cup Butter
  • 1 cup cubed Butternut Squash
  • 1 large Onion, diced
  • 8 Green Onions, chopped
  • 2 cups chopped Celery
  • 2 Jalapenos, seeded, deveined & minced
  • 1 cup Cilantro, finely chopped
  • 2 TBSP fresh sage, chopped
  • 24oz Cubed Stuffing Mix
  • 3 Eggs
  • 32oz Chicken Broth


  1. Preheat oven to 350 degrees.
  2. In a large saucepan, sautee chorizo sausage. Drain fat and set aside. In same pan, melt butter, add onions, squash, celery, green onions and jalapenos. Saute until soft. Add cilantro and sage.
  3. In large bowl, add stuffing mix, sausage, and onion/celery mixture.
  4. In separate bowl, beat the eggs with the chicken broth and pour over stuffing mixture. Toss well.
  5. Butter a large casserole dish and foil for covering.
  6. Spread stuffing into casserole dish, cover with foil and bake at 350 degrees for 45 minutes.
  7. Remove the foil and bake for an additional 15 minutes.


Enjoy!

Apple Cider

Sarah’s Double Duty Mulled Cider

Property Geek Sarah recently spoiled us with one of her family’s traditional fall treats — Mulled Apple Cider. The perfect combination of sweet and tart, it combines two of our favorite fall highlights… sipping warm beverages and being able to use some of the apples we picked from our local orchards.

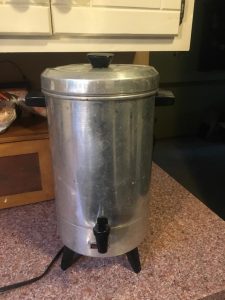
For as long as she can remember, her mom has made this mulled apple cider one time each year – on Thanksgiving. When she got old enough, it became her job to put the recipe together before all of their extended family descended on the house for a traditional Thanksgiving. About 10 years ago, Sarah and her cousins started taking over hosting the holidays from their parents. Since her mom had always been in charge of Thanksgiving, the responsibility for that holiday fell to her. Obviously she had to keep doing the cider, so her mom’s old percolator and the secret recipe was passed down to her. Rumor has it the percolator is the original one her grandma has always used so it’s doubly sentimental making the recipe in her vintage container. Now that her own children have gotten older, they love to help make the cider as people are arriving, just like she did.

Sarah took it a step further and added her own special tweak to the recipe — for adults only! She’s found that adding a dash of caramel vodka into the cup makes for some delicious warm caramel apple cider. A drizzle of caramel in would also be a great touch!

We decided to call it Double Duty Mulled Cider because not only does it taste fabulous but it will also make your house smell delicious.

 Double Duty Mulled Apple CiderPercolator of CiderMulled Apple Cider

Sarah’s Recipe for Double Duty Mulled Apple Cider

If you don’t have a percolator, you can add all of the ingredients to a large stockpot or your slow cooker and simmer gently.

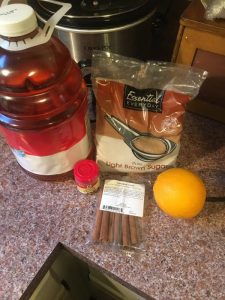
In the percolator basket, add:

½ large orange, sliced
8-10 whole cloves
3-4 cinnamon sticks
A few handfuls of brown sugar
One gallon of plain apple cider.

Let us know what you think if you decide to try it. And if you’re a seller who’s having a Fall Open House, having a batch of this brewing for when potential buyers come through wouldn’t hurt!

Dog Days Biscuits

Dog Days in the Kitchen!

Dog Days of Summer
Property Geek Amy knows a thing or two about spoiling the ones she loves – especially if they’re the four-legged variety. With the summer real estate market being so crazy busy, Finn and Taz have been feeling a little neglected. To get back in their good graces Amy whipped up a batch of homemade doggy treats and she’s sharing the recipe!


Dog Days Biscuits

Puppy Pleasing PB & Pumpkin Bites
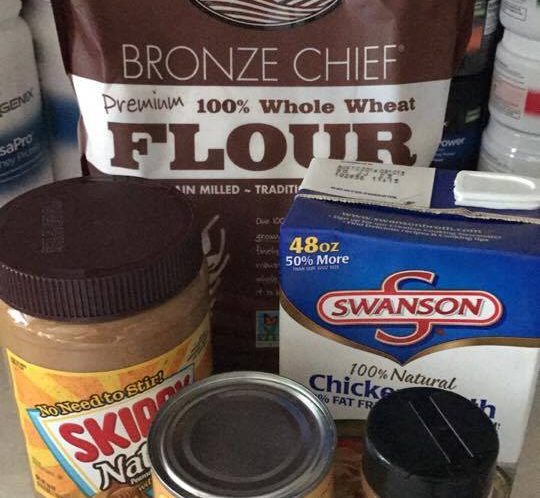
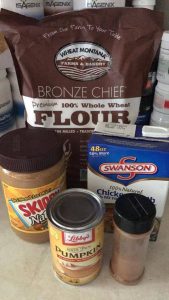
1 Cup Whole Wheat Flour
½ Cup Peanut Butter
¼ Cup Pureed Pumpkin
1 tsp Cinnamon
¼ Cup Chicken Stock

Preheat oven to 350 degrees. Stir together flour, peanut butter, pumpkin and cinnamon. Mix in chicken stock until well-combined. Transfer dough to a flat surface and roll to about ¼” thickness. Use a cookie cutter to cut out desired shape and place on an ungreased cookie sheet. Bake for 18 minutes until browned and firm. Let cool completely before storing in an air tight container.

Dog Days Biscuits

Do you spoil your canine companions with homemade baked goods? If you’re not in the mood to bake, check out some of our favorite local places to treat your pooch…

Chuck & Don’s  – Minnesota-based Chuck and Don’s has several locations throughout the Twin Cities, including a store in Lakeville. They sell food, supplies, treats and are dedicated to supporting the local community.

Wag n Wash – With self-serve dog wash tubs and a gourmet bakery, this is a one stop shop for everything your pup might need.

Just Dogs Gourmet – If you’re in need of a birthday cake or some of the cutest themed cookies we’ve seen, stop by one of their locations including the Mall of America.

Bone Adventure – A staple on the Twin Cities pet scene, this local pet store/bakery/grooming salon has been serving pets and their people since 1977.

Finn looks happy for now!

Dog Days Biscuits

Where are some of your favorite places to take your pooch for a treat?